Firestone Cruiser at the auction and after some fixing up.
Tuesday, July 17, 2012
I was at Farmersville Auction in Farmersville, PA. We had just relocated back to Lancaster County, PA from Texas with a fully loaded 26 foot truck, but with very little furniture and almost no yard & garden equipment. There are typically 3 auctioneers working at once; outside in the back, outside in the front and inside with toys & collectibles. I got out of the truck and snapped these two photos of the back lot and then made my rounds to see what goodies were there.
I happened upon this old but complete Firestone Cruiser and thought to myself that whoever ends up with this needs to bring it back to life. What a beauty! I had no intentions of bidding on bicycles that day, but I did want to watch it being auctioned off.
Both the tank and head badge are still on the bike, which is rare. Just as rare, the fork truss rods are in tact!
It came time for the bike to be sold, so I made my way over to it so I could listen in. I figured it would sell well above $200.
As usual, the auctioneer first asked for $100, then $75, but the crowd of fellow cheapo Pennsylvania Dutchmen stood silent and dragged the auctioneer all the way down to a $5 opening bid. The bids then quickly rose to $100, then $110, $120, $130. The auctioneer was calling out "$130 - $140?, $130 - $140?" ... his eyes scanned the crowd for another eager bidder "140? .... $130 - $140? ...... $140? ..." On his final call for $140 indicated by a rise in his inflection "onnne for-TEEE??? ....." I raised my hand and said "YEAH!" The auctioneer then called for $150 ... no one challenged me and to my surprise, I ended up with the Firestone Cruiser in the back of my truck!
The Assessment
It took some time, but I wrestled off two very dry and stiff white wall tires. Protected by the dry rotted tires were two period, made in the U.S.A. inner-tubes that still hold air!
One Carlisle tube and one Firestone tube. Both tubes will be used again inside brand new white wall tires.
The next order of business is to find out what color the wheels were, as there was nothing but rust on the outside. Inside was almost as bad, but I did find the remnants of a little bit of chrome between the spokes.
Unfortunately, the outside of the rims are pitted a little too much for a re-chrome job, but the metal is solid, so I can paint and pinstripe them. The question is "What colors?" After some research, I've found that these bikes not only came with chrome wheels, but also, white with red pin stripes and red with white or black pin stripes. This will do until I can locate a good set of chrome originals and will not delay the project.
Other than the underside of the fenders and some small chips, the chain guard is the only part that I'll be repainting. I know what the graphics looked like, but I'm not sure if it said "Firestone Super Cruiser, Firestone Special Cruiser or just Firestone Cruiser."
The front sprocket is the dead giveaway of the manufacturer, being H.P. Snyder, marketed by D.P. Harris of New York. They were the manufacturer & supplier of Rollfast bicycles and for decades, they were the largest manufacturer of bicycles in the world.
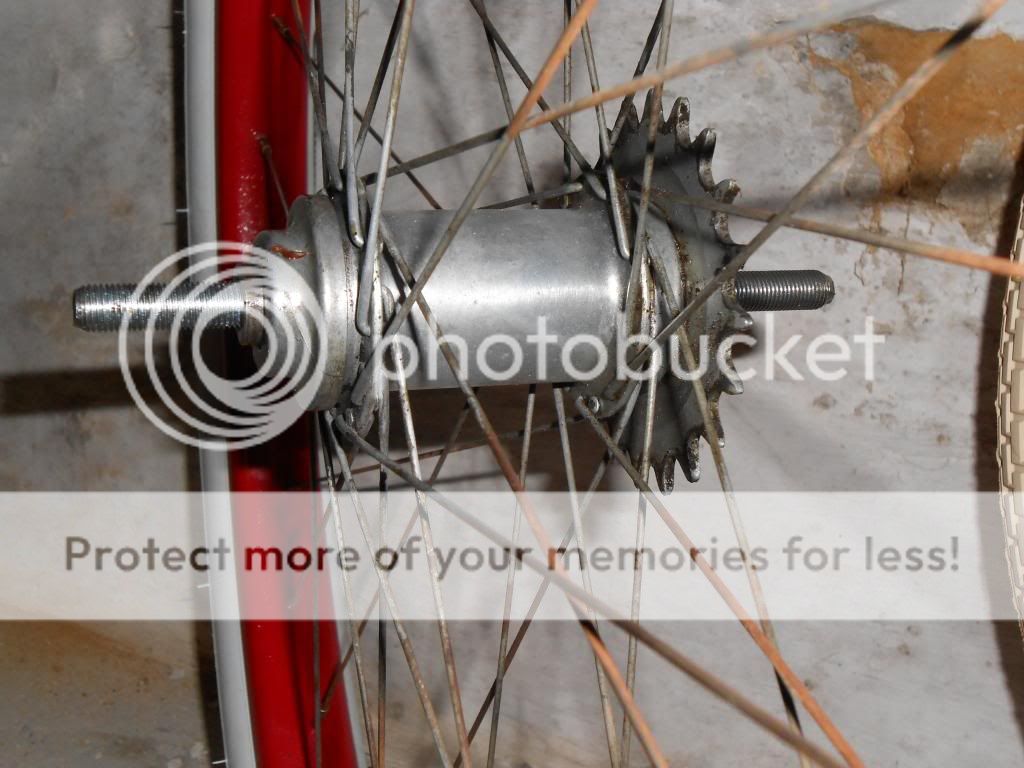
A New Departure coaster brake hub. Great stuff there! It should work great after a cleaning and lube job. It'll probably out last me.
Minor set-back ... the bottom bracket weld failed. This is the priority repair as the integrity of the entire frame relies on this piece. I'll have to fabricate a special clamp to draw the gap closed and have it welded ... shouldn't be much of a delay.
Tear Down, August 3, 2012
I removed the chain and it's soaking in solvent.
Here's a shot of the failed weld on the bottom bracket.
Almost completely disassembled and ready for repairs & cleaning.
The tank with the original Delta horn & fresh batteries installed.
Bottom Bracket Repair, August 10, 2012
It turns out that I didn't have to make a clamp to draw the gap in on the cracked bottom bracket. Some well placed bumping with a 16 ounce ball-peen hammer was all that was needed to close the gap.
All ground down and ready for the welding shop.
August 11, 2012
Today I hauled the Firestone Cruiser frame on my Schwinn Cycle Truck to the welding shop for the bottom bracket repair.
Bottom Bracket welded, pre-grinding.
The weld is ground down. A little work with a hand file, some touch up paint, then rust proofing, cleaning, lube and reassembly can begin!
August 12, 2012
Getting ready for the first wash in a long time.
Years of dirt removed.
Before & after de-rusting with an SOS pad.
Lots of rust and caked on oil and dirt to remove.
The crank set before cleaning.
The lower head set bearing race will have to be replaced.
A new bearing race installed. I used a Wald number 593.
The crank set was the most time consuming part to clean. Over 2 hours of soaking & scrubbing so far.
Done! The caked on oil and dirt saved the chrome.
To my surprise, there is even some chrome left on the truss rods.
All cleaned up and ready for reassembly. I didn't get the the handlebars and stem.
August 15, 2012
The bearings were cleaned, repacked with grease and the fork and crank set are re-installed. It won't be long now!
August 22, 2012
So many things got in the way last week, that I didn't do anything on the bike. Today was just as busy, but I made up my mind that I was going to get one thing done. I pulled the chain from the solvent and scrubbed off all of the caked on grease and dirt. It turns out to be a Diamond premium chain with the outside links chrome plated and the inside links nicely blued. Diamond is still making chain, just not for bicycles ... what a shame.
August 23, 2012
Today's implement of rust destruction .. an air motor with a wire brush to de-scale the rims before truing and painting.
They're some rough looking rims. Charles told me that they lost the rust when he was a kid. That's a pretty bad chrome job for the 1950s. No matter ... they're look pretty good when I'm through.
This close-up shows the pitting in the steel. I'll be using Rustoleum Rusty Metal Primer before the color.
Both rims de-scaled.
The wire brush made short work of the crud on the brake arm.
Next, I'll take about an hour to true both rims and then paint them.
September 2, 2012
Painted the rims today. I was hoping that they'd be dry by evening, but with the humidity, no such luck. The reassembly will have to wait until tomorrow.
September 3, 2012
Rainy & humid all day and the paint didn't quite cure the way that it should have. Slight delay :-(
September 5, 2012
Paint finally cured and I picked the tape off of the spokes. Also have the front & rear hub internals soaking in solvent.
September 7, 2012
Hubs serviced, front bearings replaced, rims trued, spokes tensioned, tubes & tires mounted. Barring any unforeseen difficulties, this weekend she rides!
September 8, 2012, 2:30 PM
I descaled the underside of the fenders and then rust proofed with Rustoleum Rusty Metal Primer and Black Paint. Starting the reassembly!
It's starting to look like a bike again! At first, I agonized about painting the rims vs waiting until I found chrome originals, but now that I see them mounted, they give the bike a certain 50s hot rod appeal. I like it and it'll be ride-able today!
5:00 PM ... It's a bike again!
OK, the major repairs are done and I treated her to a new pair of pedals because she deserves them. Now the detailing can begin. Things that still need to be done are:
- Remove the rust spots in the painted surfaces and fender braces.
- Descale and paint the seat frame.
- Repaint the chain guard with graphics. There is hardly any paint left on it.
- Sew up a seat cover to preserve the original oil cloth.
- Replace the handlebars because they're so rusty. They turned out to be Wald and they're still manufactured in Maysville, Kentucky.
- Have the handlebar stem re-chromed.
- Detail the painted surfaces.
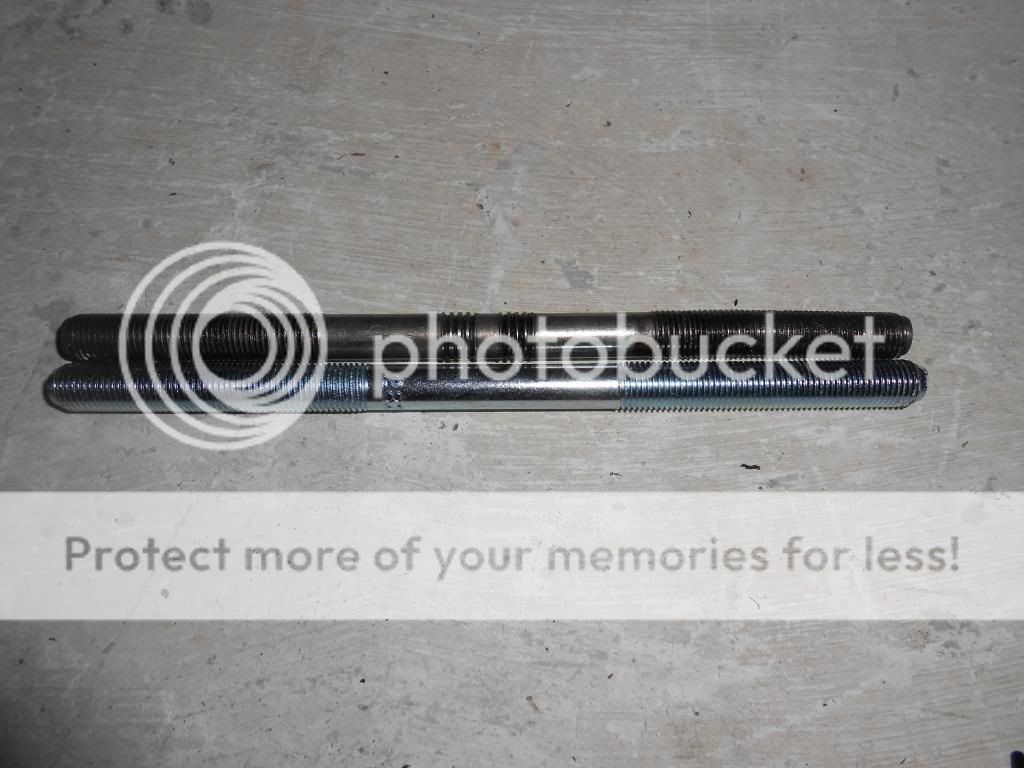
- Replace the rear axle. The threads are a little buggered up and it'll be easier to service the rear brakes next time.
Time to take her for a ride!
April 19, 2013
Due to many unavoidable delays, progress on this bike had come to a complete stop ... until today.
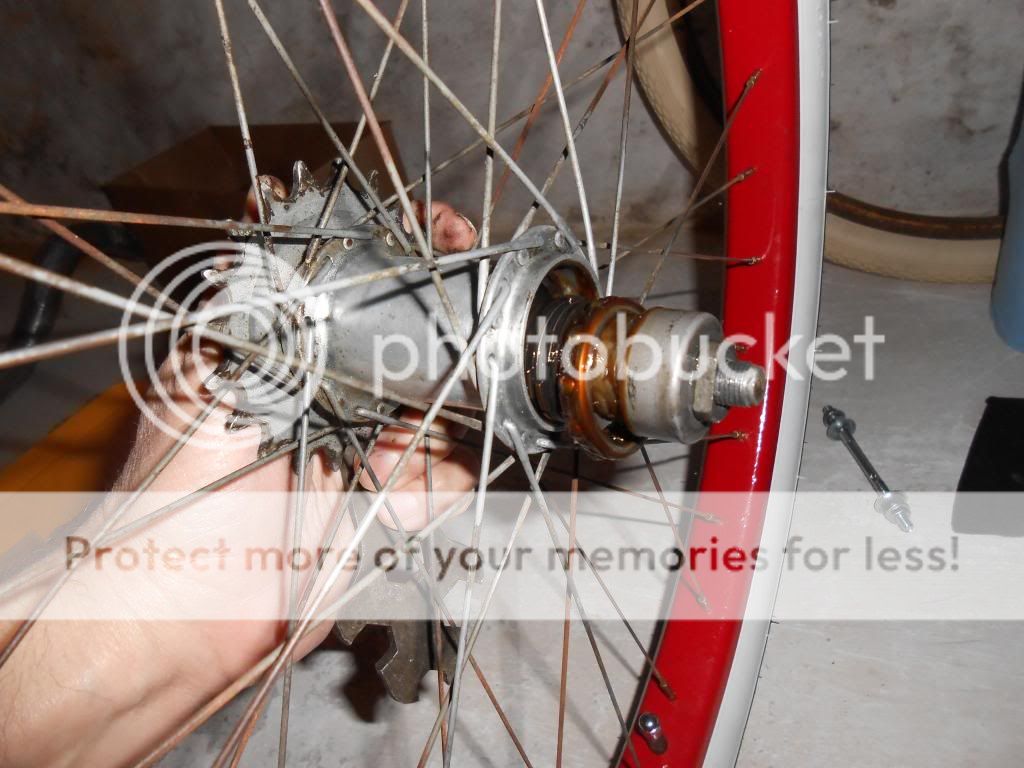
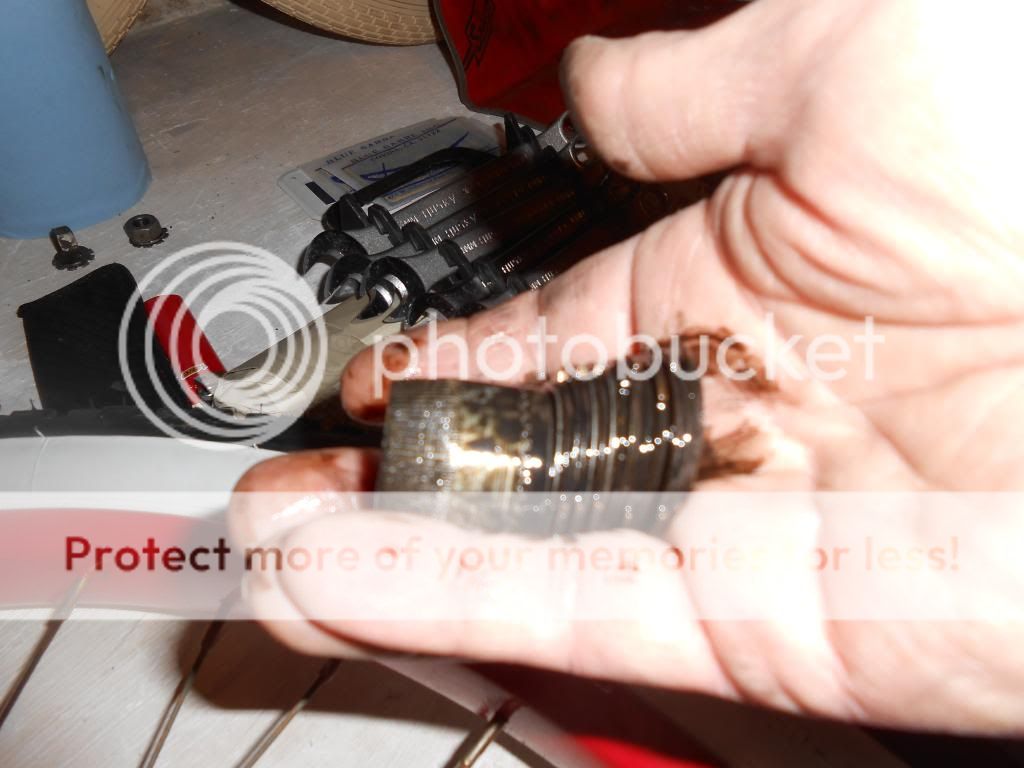
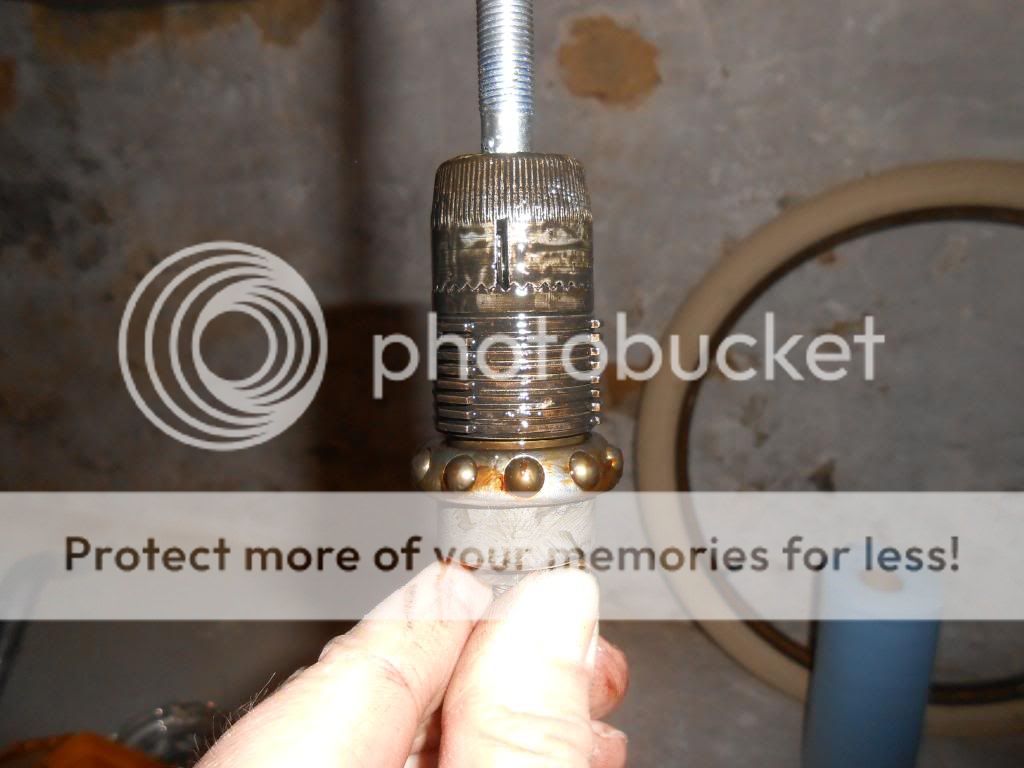
Last fall I had the bike out for a ride and the rear hub was giving me trouble. While rolling and after pedaling, the hub would not allow the sprocket to disengage, causing the chain and pedals to move. This can be caused by having the bearing cones on the hub adjusted too tight. I loosened them up a bit, but the wheel wobbled on the bearings and the chain continued to try to turn. There's only one thing left that I can think of and that's a bent axle. There are brake discs inside the hub; every other disc is in motion when the bike is moving and they're supposed to slide against each other freely until the brake is applied by pedaling backward. A bent axle would cause constant pressure on at least some of the discs.
Running nice and smooth!
I'm just waiting for a sunny, non windy day for a nice cruise on one of the bicycle trails.
Detailing to continue this summer.
_______________________________________________
After I purchased this bike, the original owner, Charles tracked me down and asked me for a photo of the bike when it's finished. I created this blog so that not only will Charles have a couple of photos, he'll be able to follow along with the progress.
This bike was his Christmas present in 1952 and it was purchased at the Firestone store, formerly located at Prince & Orange streets in Lancaster, Pennsylvania. The store is long gone, but the bike will ride on very soon.


9 comments:
Well, how cool is that! Loved hearing about your find. Especially happy that you and Bea have made it out of Texas!
Sending hugs to you both!
Kathy
Thanks Kathy :)
What a great find! Looking forward to seeing it completed. :)
Hey Dave, awhile back your mother mentioned that you turned a scanner into a light box for her. Was it hard to do? My printer is on the fritz, but I'd sure like to salvage the scanner part for a lightbox.
Great work on the bike! I'm sure the former owner is glad you got it, and will bring it back to its glory. :)
Thanks so much for the how-to on making a light box out of my scanner. I was making it a lot harder in my mind than I needed to. Hope to try it this weekend. :)
Love how the bike's coming along!
I must say these are great efforts, what a creativity.
Msp town car service
Post a Comment